Rendering volumetric clouds using signed distance fields

Frustration-born

Volumetric cloud rendering has really exploded in recent years. This can largely be attributed to GPUs being fast enough to utilize ray marching techniques in real-time, something which previously was limited mostly to the demo scene. However, care still needs to be taken when rendering volumetrics, as cranking the sample count way up will slay the mightiest of GPUs.

The problem is we want to do just that. Crank the sample count way up. If we don’t, we’ll either have to make do with soft, undefined volumes, or try to deal with horrible banding/noisy output and smear it over time, which looks absolutely terrible in VR.

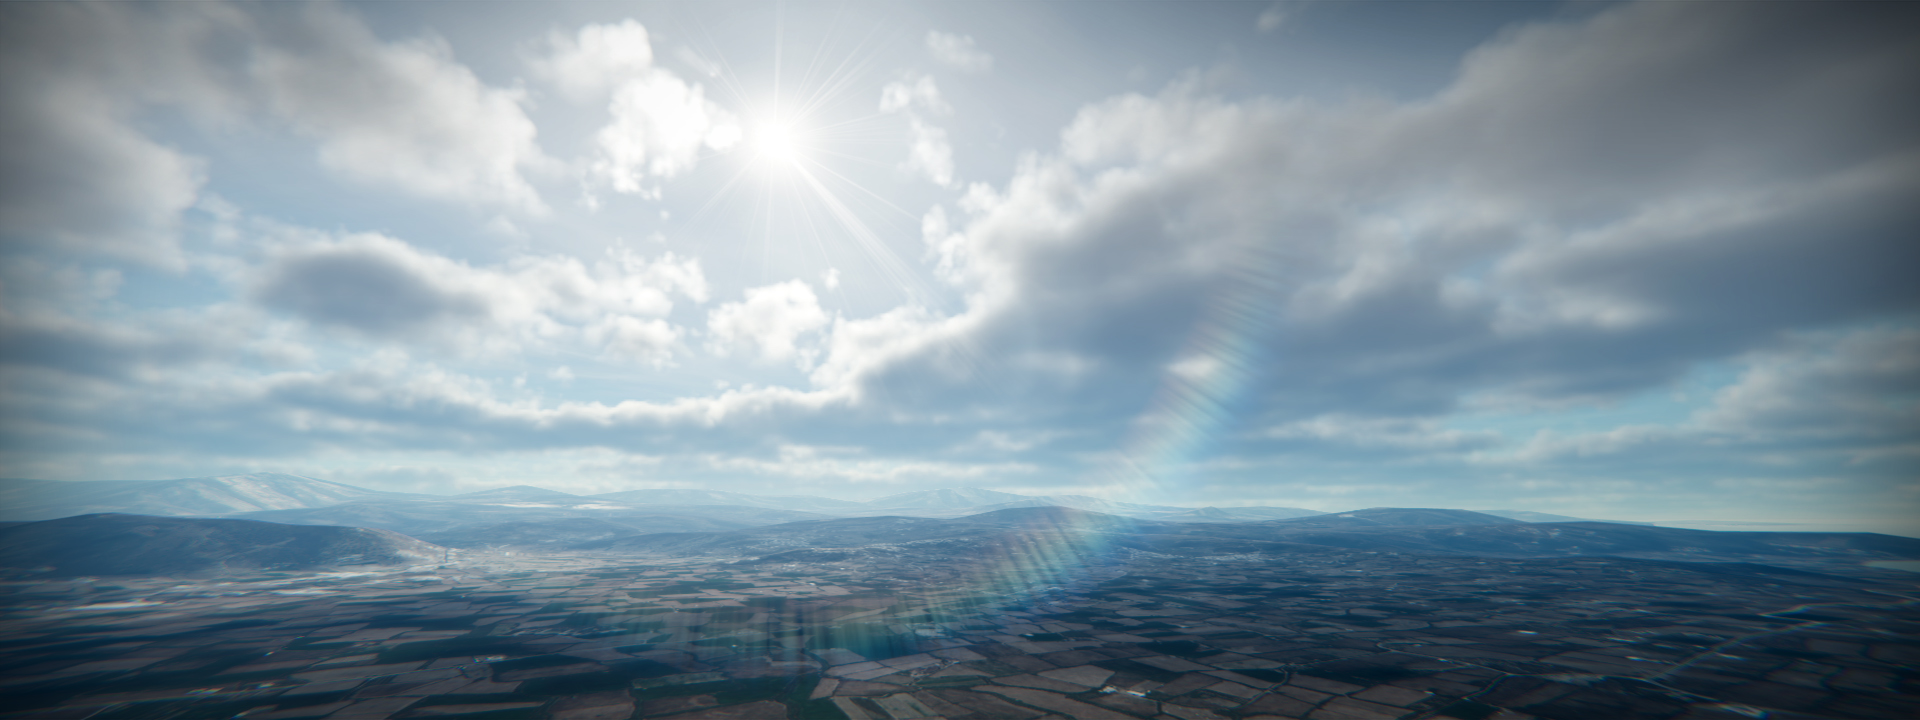
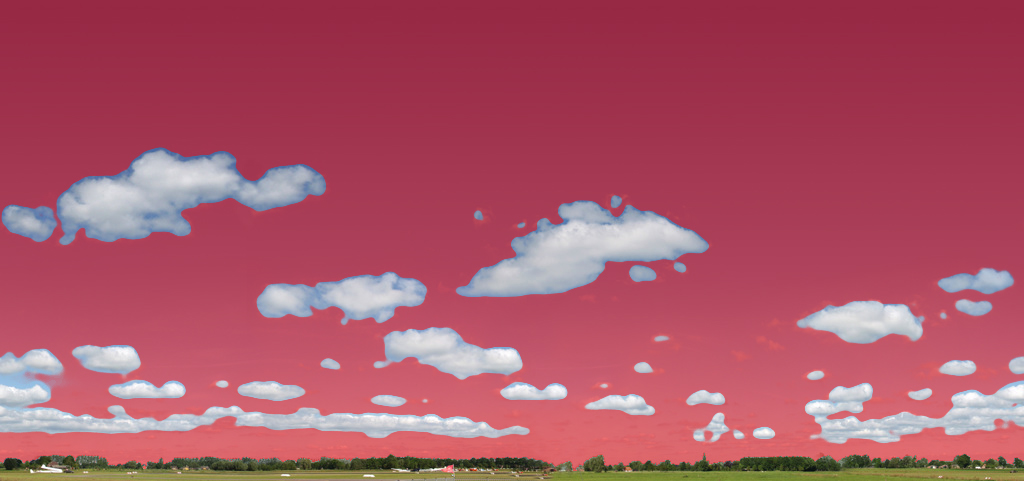
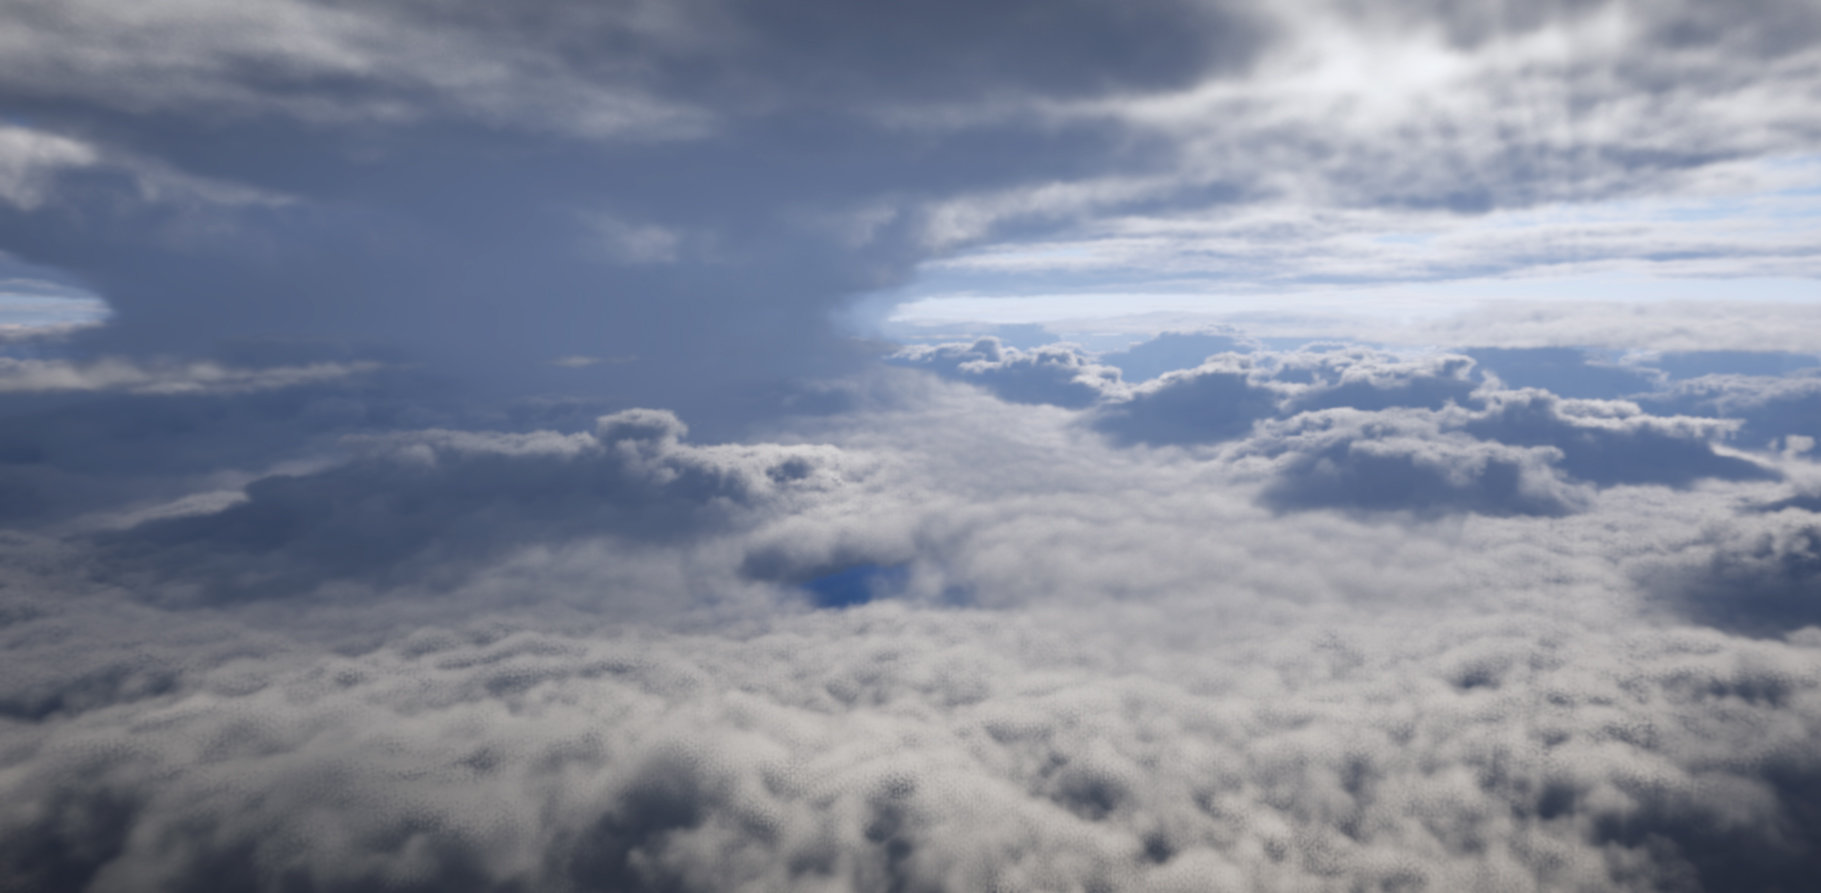
About a year ago, I was observing some sparse but dense cumulus cloud formations, similar to this image (but even denser):

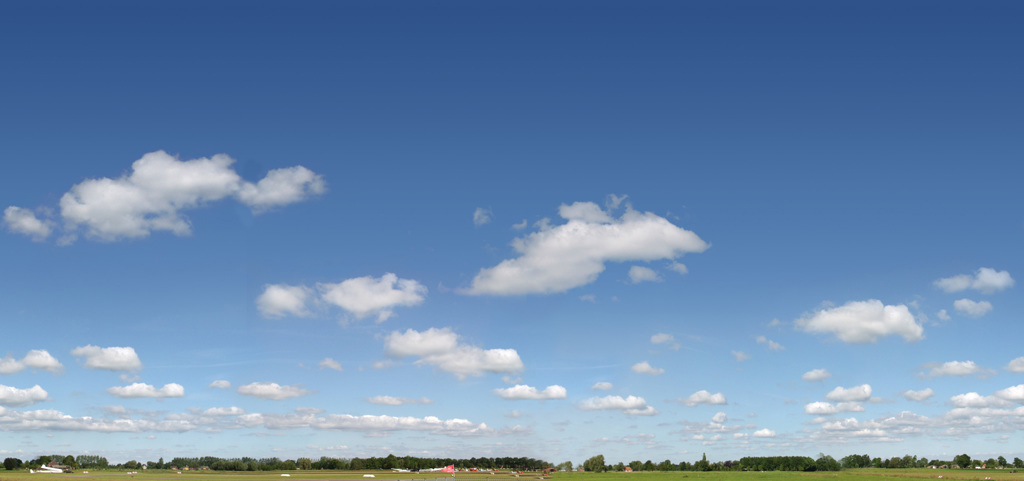
Source: Textures.com

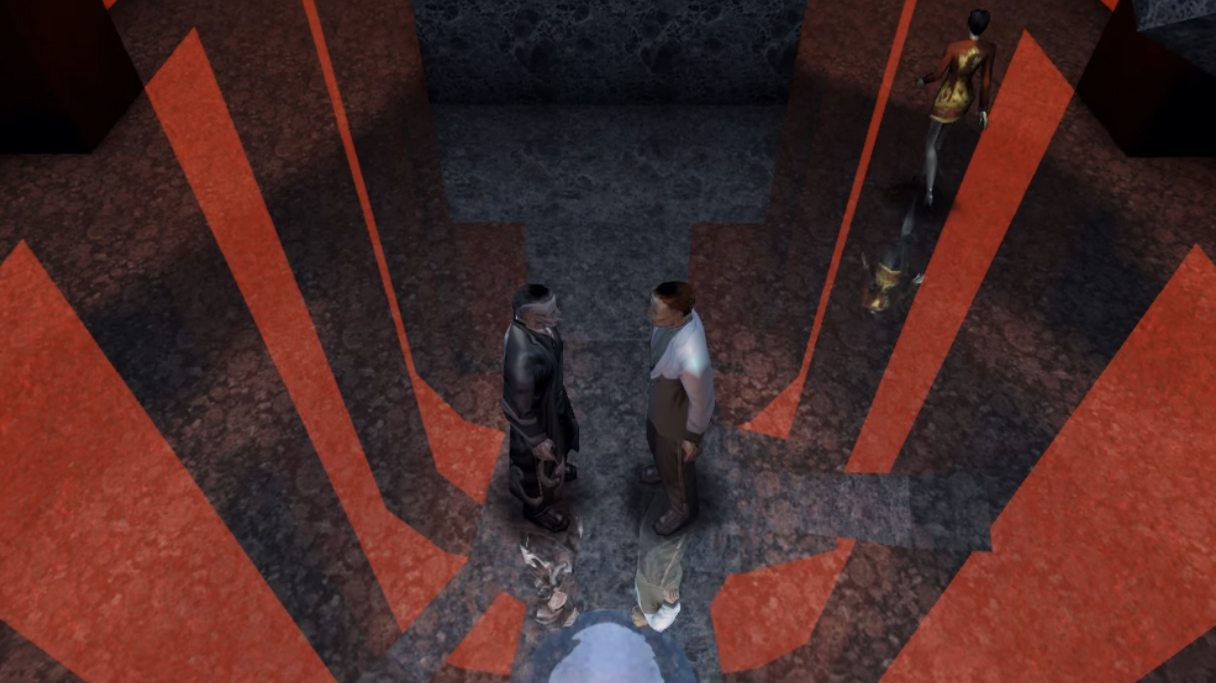
Thinking about how to recreate it in UHawk really frustrated me because I knew that to get those kind of well-defined shapes, a lot of samples would be needed. Worse still, most of the samples wouldn’t even contribute to the final image because of how much empty space there was:

All that red is your GPU calculating the value 0 in very expensive ways

Ideally, we’d want to spend our ray samples only where there are clouds. Instead, we end up spending a ton of them just to check and be able to say “Yep, no clouds here!”. We end up spending only a fraction of the sample count on something actually visible = bad visuals for worse performance.

I started thinking “If only there was a way for the ray to advance really quickly to the first cloud intersection. Then you could spend your ray budget where it really matters!”. Then I realized this was a technique I already knew and had experience with.

Enter signed distance

Animated visualization of a distance field. Source in the link below.

If you want a full overview of what a signed distance field is, I recommend checking out this great article by Jamie Wong. Basically, you construct a data structure (field) which, for each entry, contains the distance to the nearest point of some surface. This works for 2D and 3D (and presumably other dimensions as well).
In 2D it is used to render text, but since we’re working in 3D we’ll use it to represent a volume. More specifically, we are going to use it to skip through empty space as quickly as we can by taking large steps forward, with each step size being equal to the value of the signed distance at the current ray march position. Because the SDF guarantees that no surface is closer than that value, it is safe to skip forward by that amount.

Visualization of how empty space can be skipped when rendering with a signed distance field. The blue points represent the ray march positions and the yellow circles represent the value of the distance field.
Source: GPU Gems 2: Chapter 8.

Because our SDF is a volume containing arbitrary distances, the data structure we’ll be using is a signed, half-precision floating point 3D texture. Each pixel in the texture represents the signed distance to the shell of our cloud volume. The signed part means that if the pixel is inside the volume, the value will be negative (we won’t use this for the ray-marching, but it can be used to increase the sample density the further into the cloud we get).
The texture will have to be quite low res, as ray-marching a high-resolution 3D texture is very expensive. I’m using a 128x32x128 texture which is sampled non-uniformly (stretched by a factor of 6 horizontally) to cover a larger area. The texture should also tile horizontally so we get an infinitely extending cloud plane.

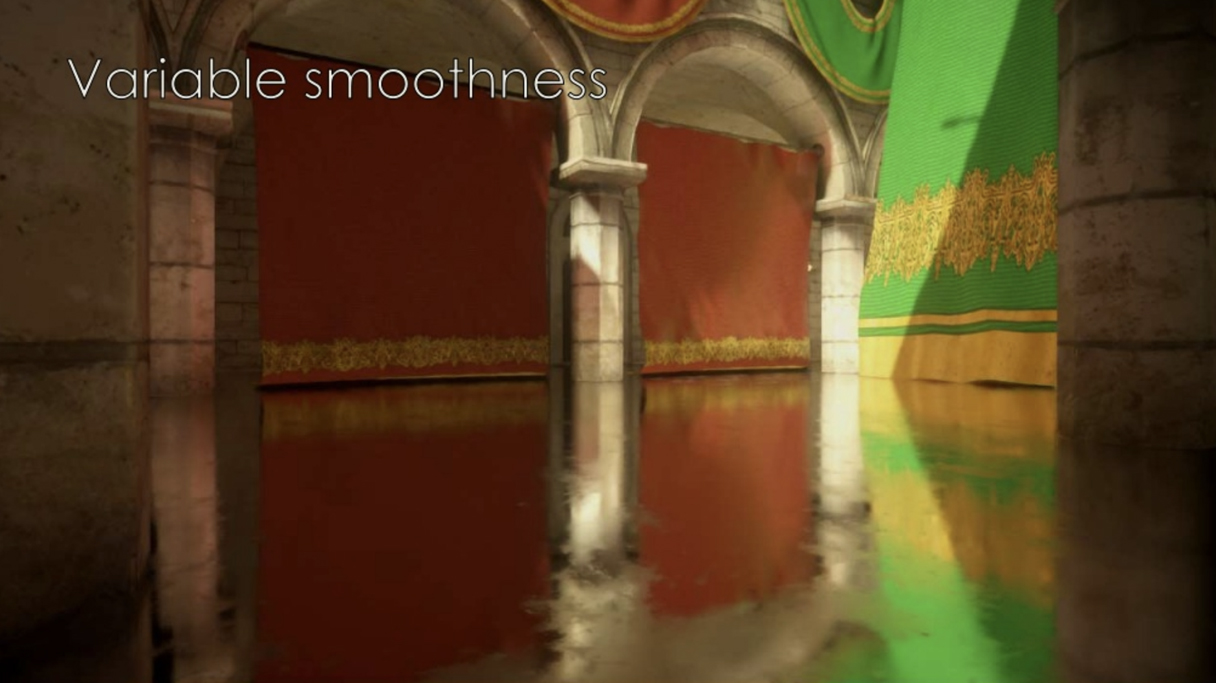
Before we can calulate the SDF, we need a volume representing our clouds. I use a layered system where a compute shader is run for each cloud layer and adds it to an RG16 3D texture of the same resolution as our SDF. The method for generating the cloud shapes is similar to the method described here by Sébastien Hillaire. The red channel contains the coverage and the green channel contains the density (used by the ray-marcher, adding support for varying density).

Recalculating the distance field texture is expensive (takes about 200ms using a 3-pass compute shader on my GTX1070), so we’ll have to limit the system to having a static cloud volume. This might be a deal breaker for some, but for my game I’ll gladly take non-dynamic clouds if it means increasing the visual fidelity and performance. What we can do instead is scroll the volume itself, which will at least give us some movement.

The bipolar ray marcher

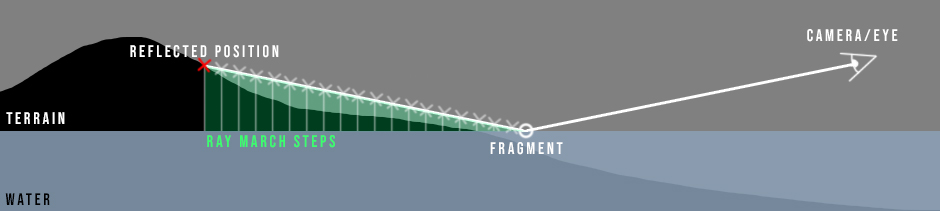
Now that we’ve got a SDF representing our clouds, it’s time to ray march it. Our ray marcher has two modes:

  • SDF – Used when outside the cloud volume. Step size is determined by the SDF value. Visualized in blue in the figure below.
  • Regular – Used when inside the cloud volume. Step size is fixed. Visualized in cyan in the figure below.

Additionally, we skip areas outside of the cloud volume entirely, visualized in red in the figure below.

How you do the ray marching depends on your setup and code style, but here’s a basic copy of what my code is doing (with implementation-specific optimizations stripped):


// The fixed step size of the inner ray marching
uniform float _StepSize;

float DensityFunction (float sdf)
{
    return max(-sdf, 0);
}

float4 Raymarch (float3 rayStart, float3 rayDir)
{
    // Scattering in RGB, transmission in A
    float4 intScattTrans = float4(0, 0, 0, 1);

    // Current distance along ray
    float t = 0;

    UNITY_LOOP
    for (int u = 0; u < RAY_MAX_STEPS; u++)

    {
        // Current ray position
        float3 rayPos = rayStart + rayDir * t;

        // Evaluate our signed distance field at the current ray position
        float sdf = MapVolume(rayPos);

        // Only evaluate the cloud color if we're inside the volume
        if (sdf < 0)

        {
            half extinction = DensityFunction(sdf);
            half transmittance = exp(-extinction * _StepSize);        

            // Get the luminance for the current ray position
            half3 luminance = Luminance(rayPos);

            // Integrate scattering
            half3 integScatt = luminance - luminance * transmittance;
            intScattTrans.rgb += integScatt * intScattTrans.a;
            intScattTrans.a *= transmittance;

            // Opaque check
            if (intScattTrans.a < 0.003)

            {
                intScattTrans.a = 0.0;
                break;
            }
        }

        // March forward; step size depends on if we're inside the volume or not
        t += sdf < 0 ? _StepSize : max(sdf, _StepSize);

    }

    return float4(intScattTrans.rgb, 1-intScattTrans.a);
}

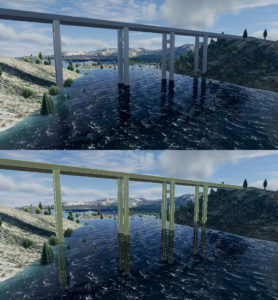
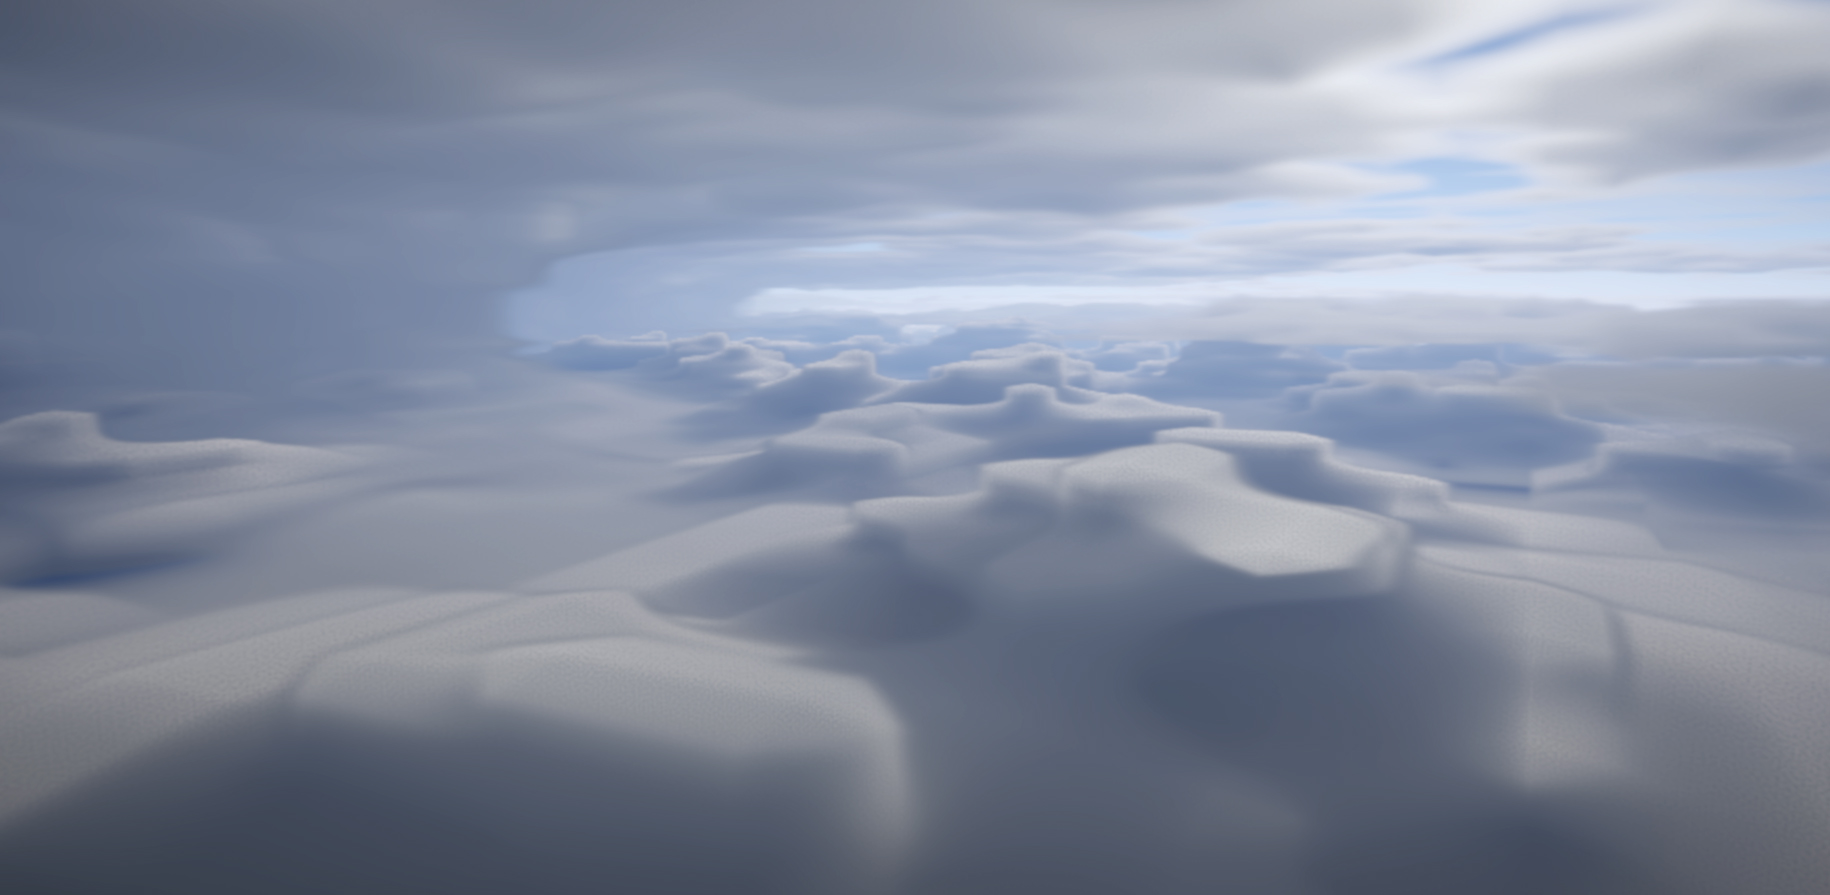
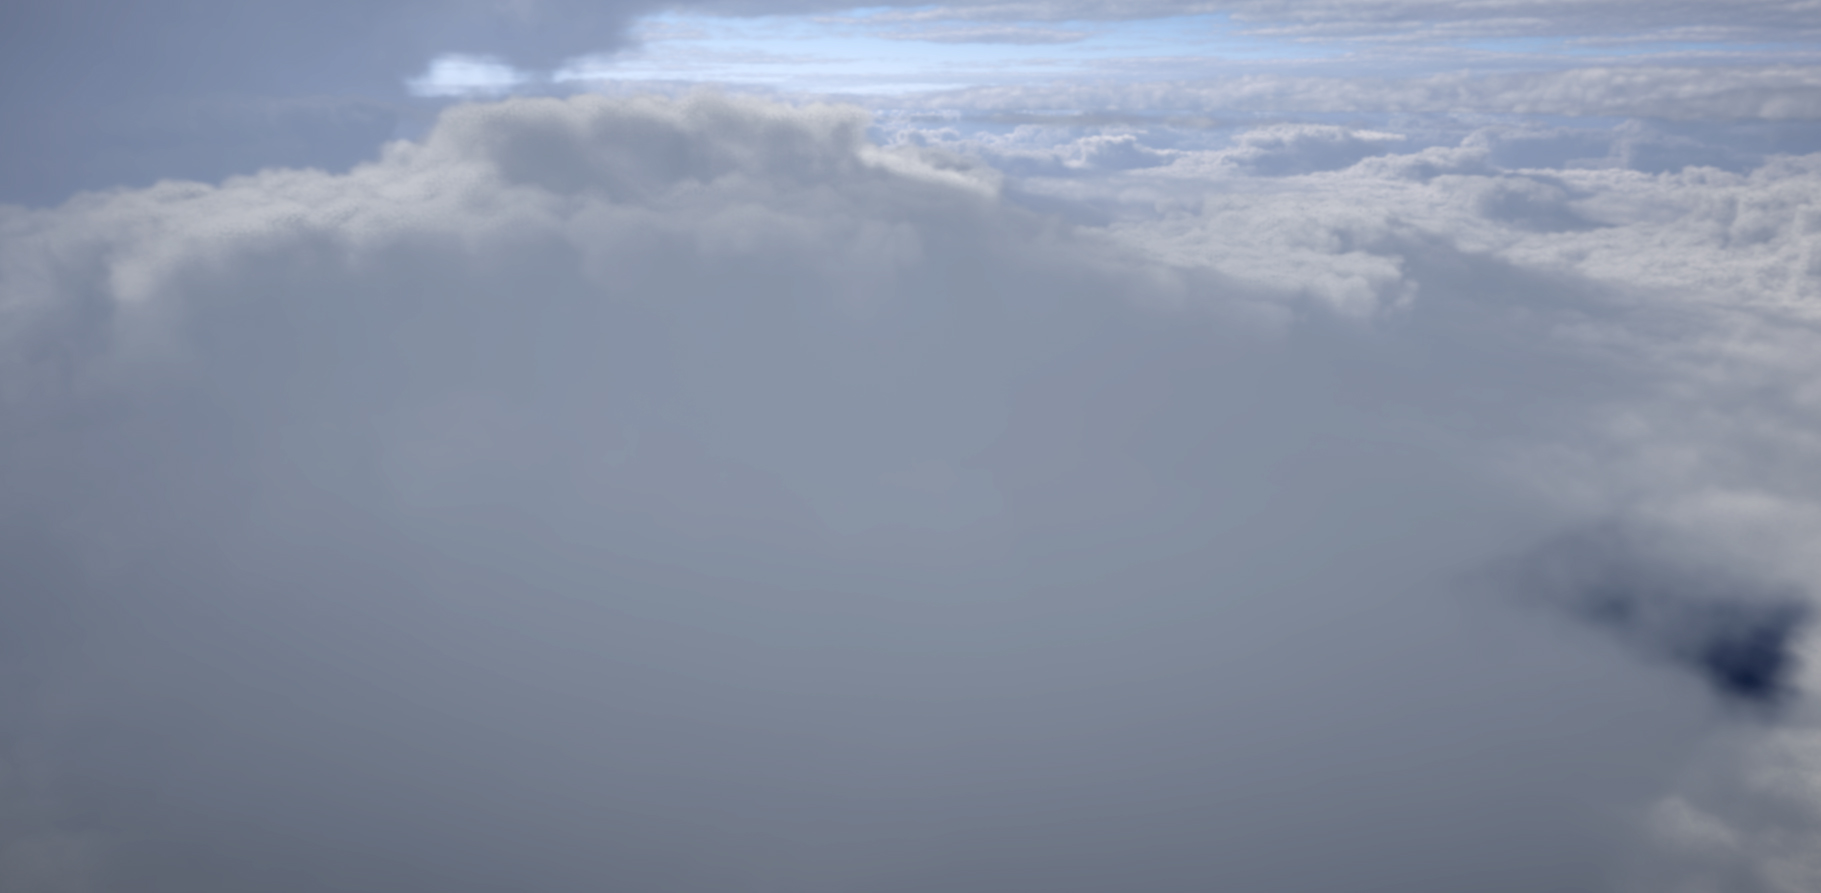
The ray marcher code itself is really simple now that I look at it with all the details stripped. Here’s what it looks like when ray marching the base volume only:

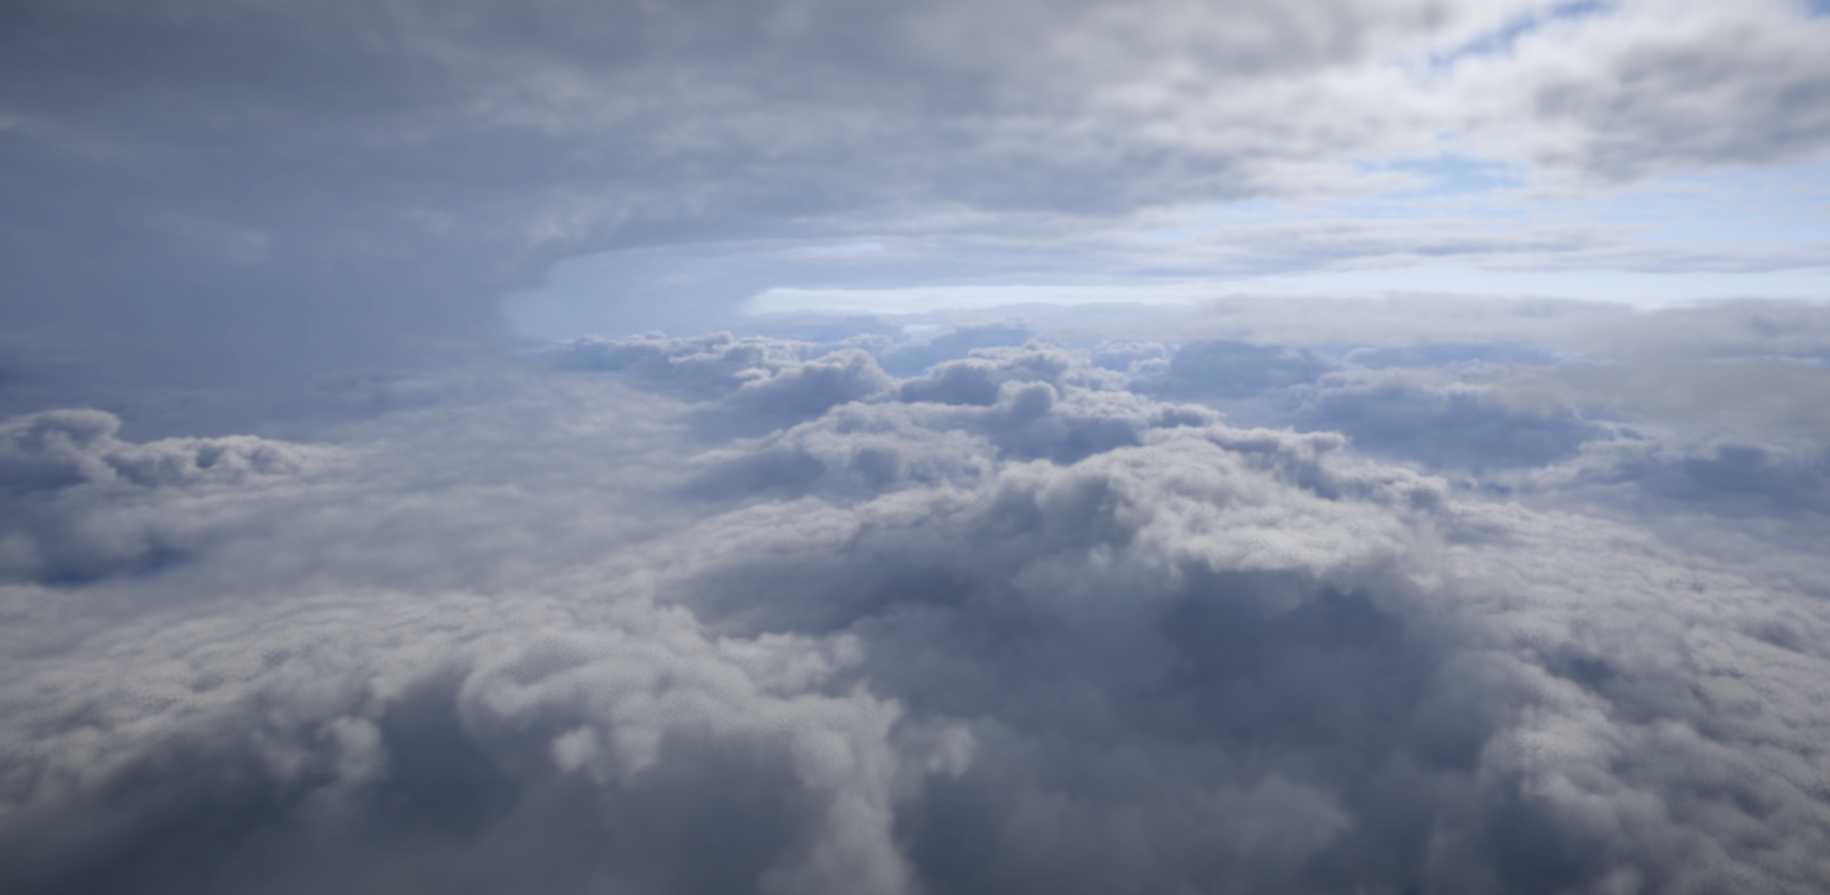
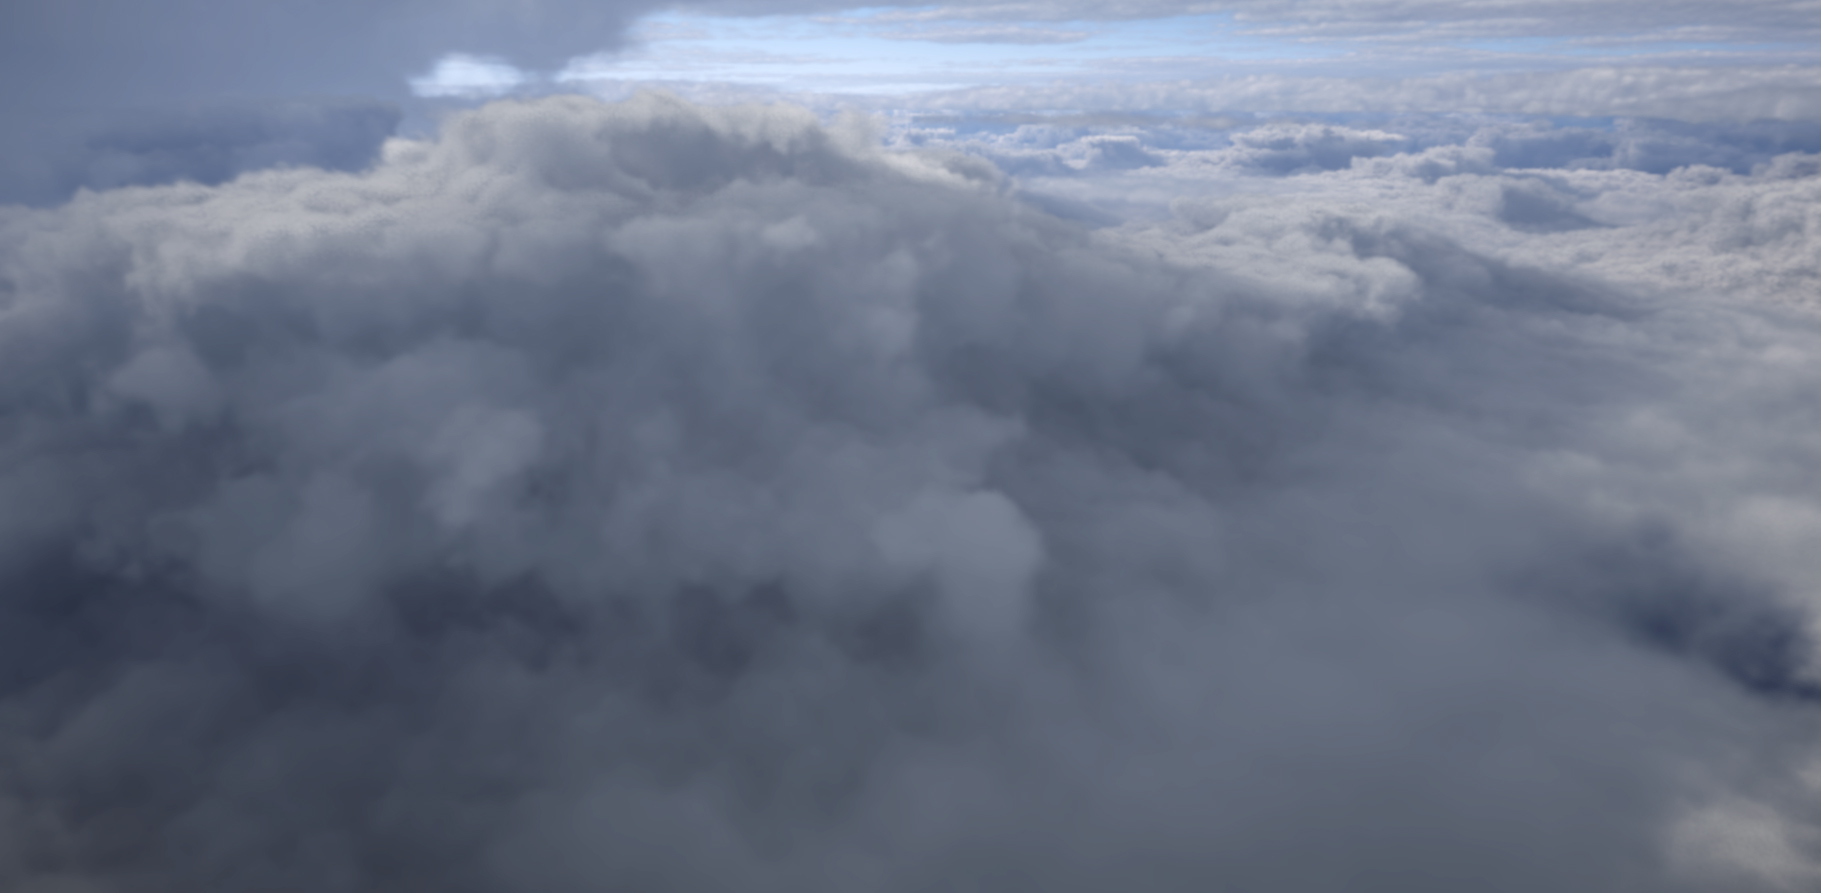
And here’s with two 3D detail passes added (perlin-worley):

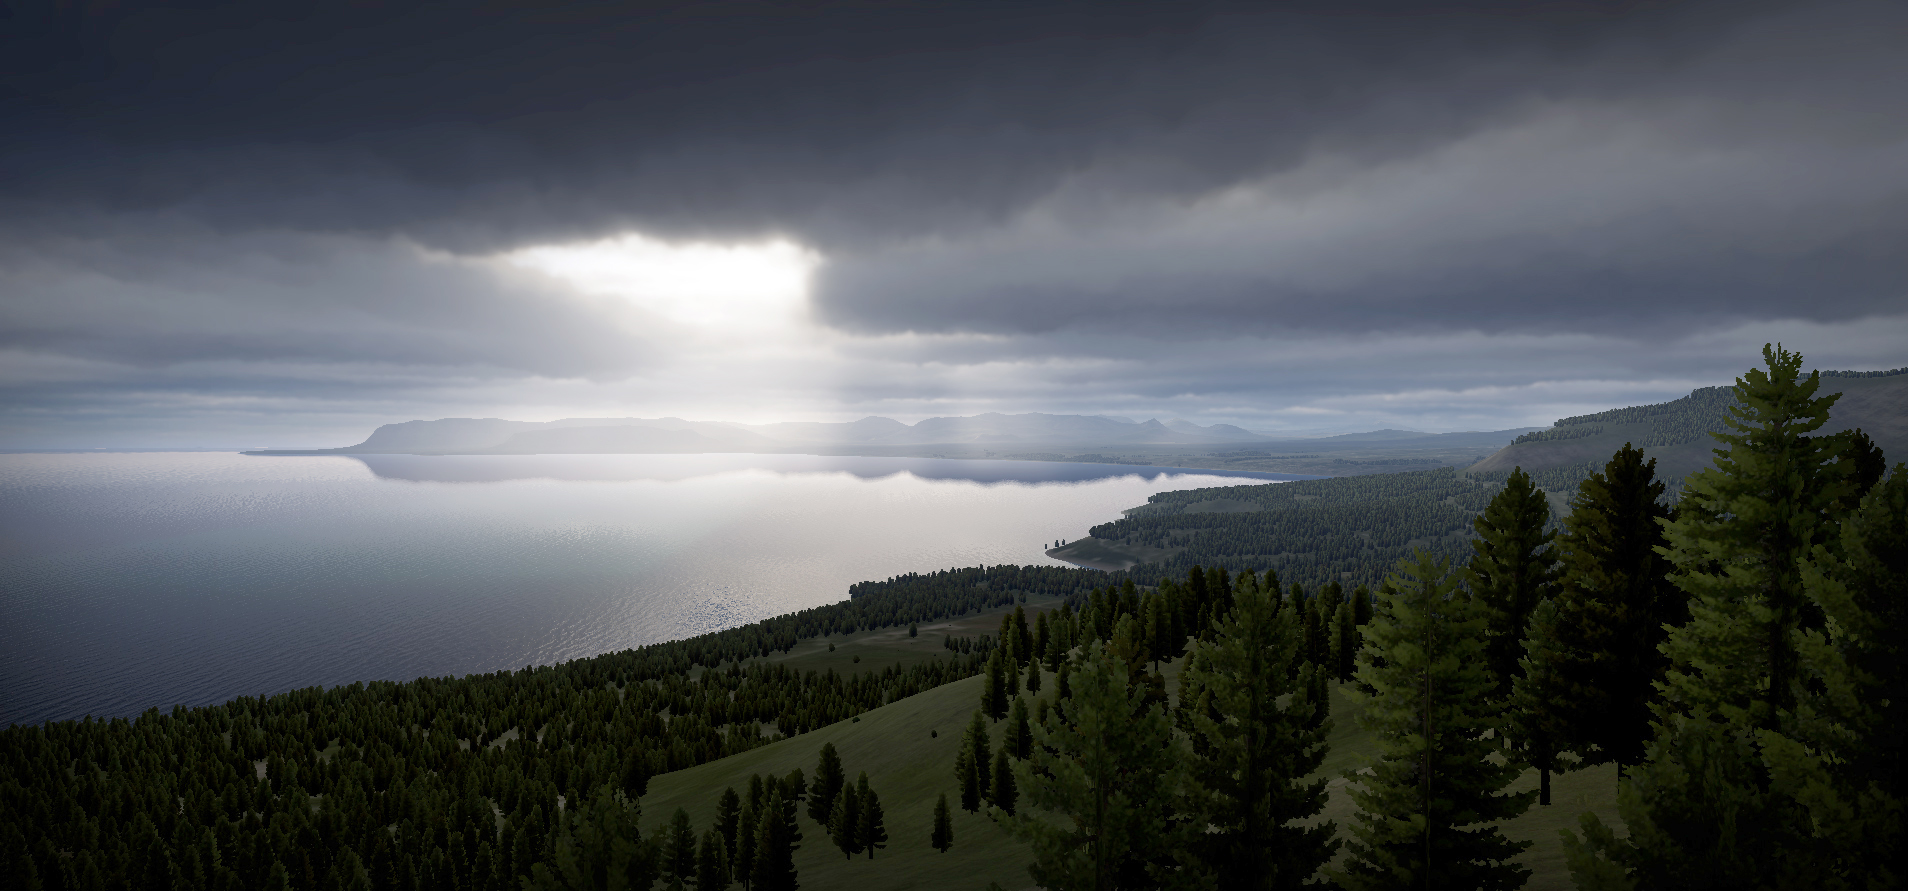
Finally, here’s a video of it in action in my game:

Static advantages

But wait, there’s more! Since we’ve limited the system to working with static data, why not bake some more? In addition to the SDF, we can pre-march a shadow + ambient ray.
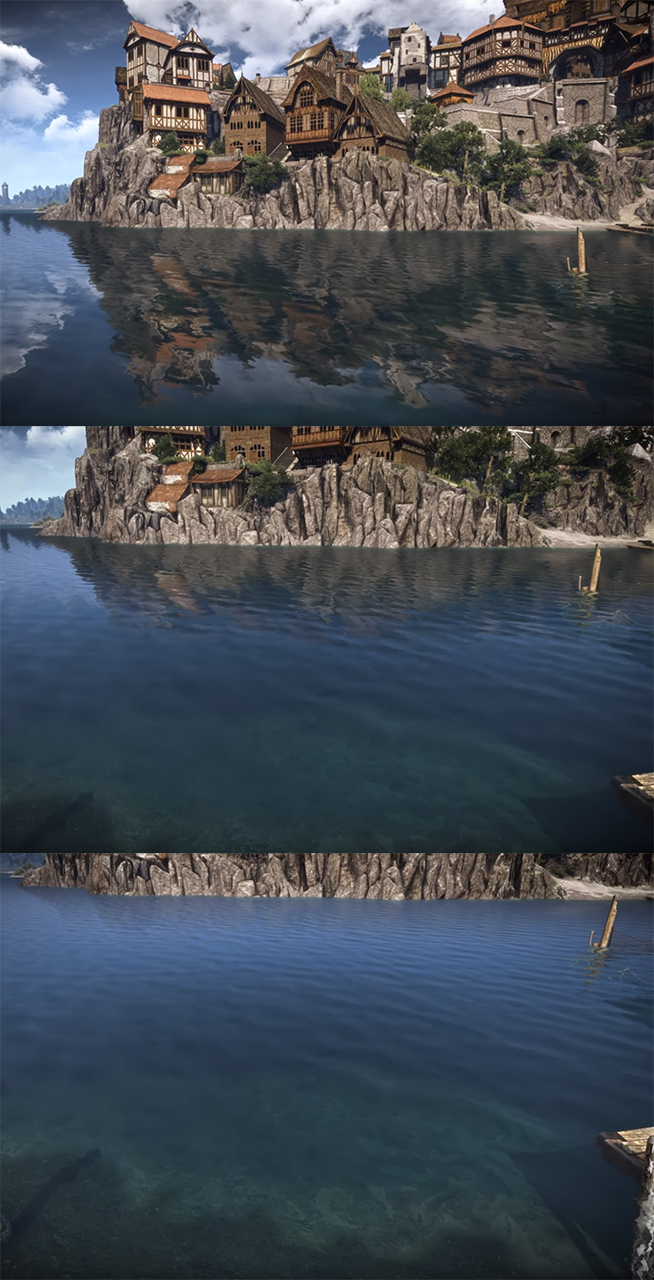
Here’s with just the realtime shadow ray (4 shadow samples per cloud sample):

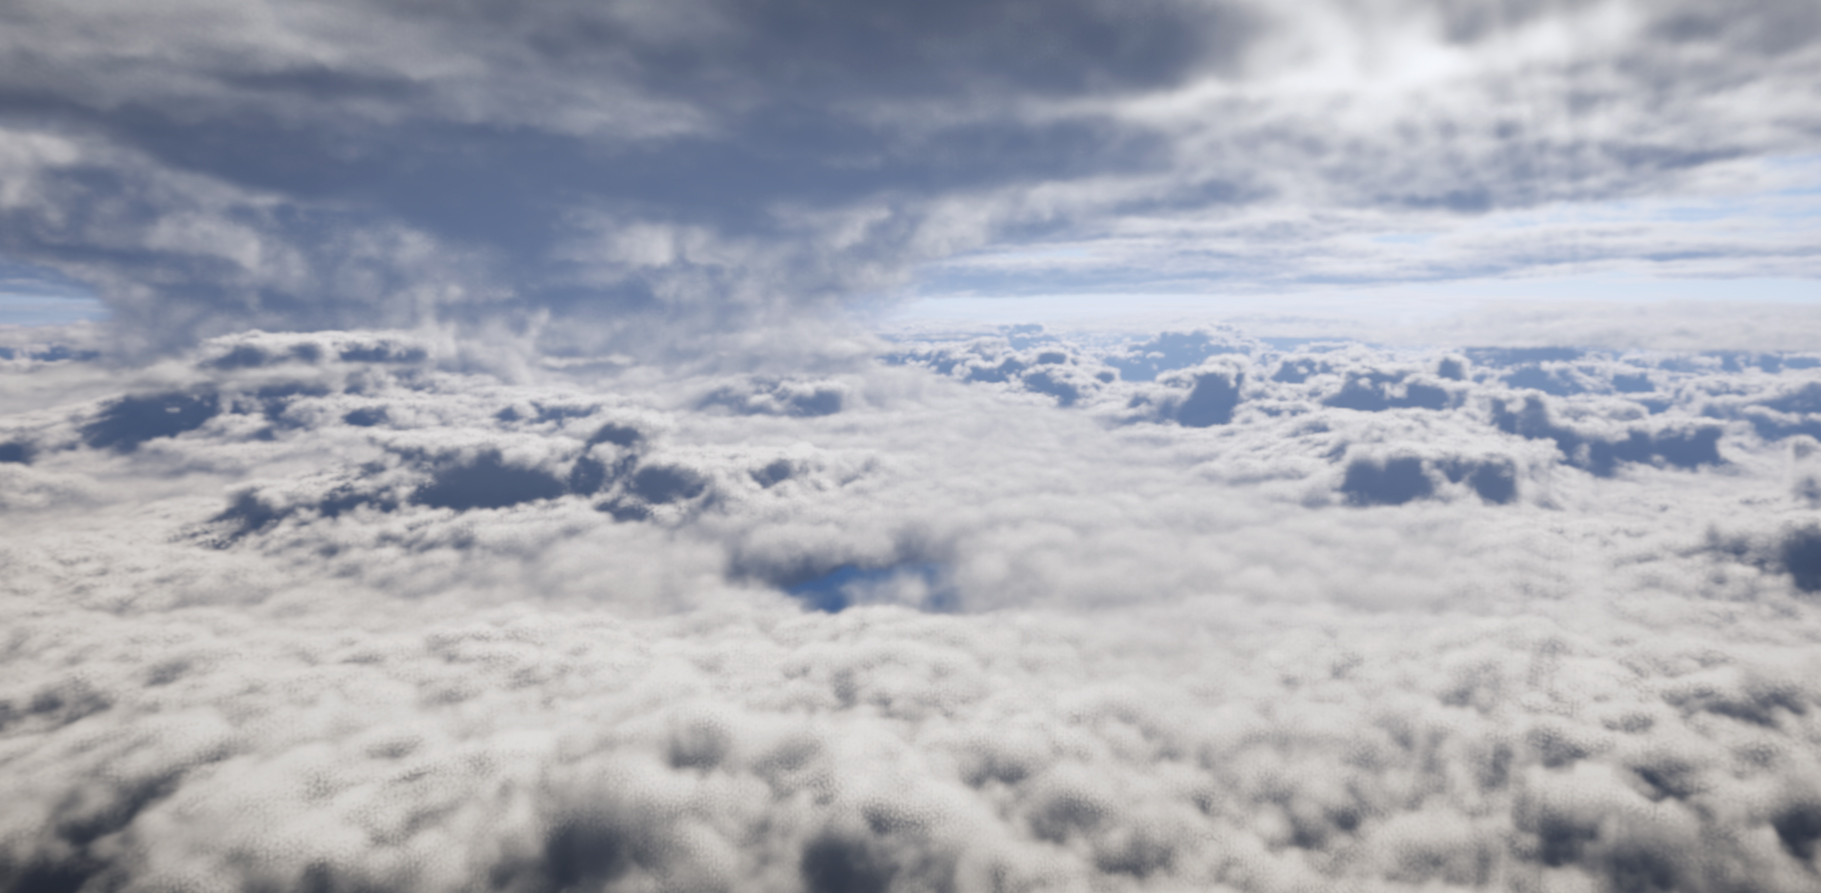
And here’s with the pre-marched shadow ray added:

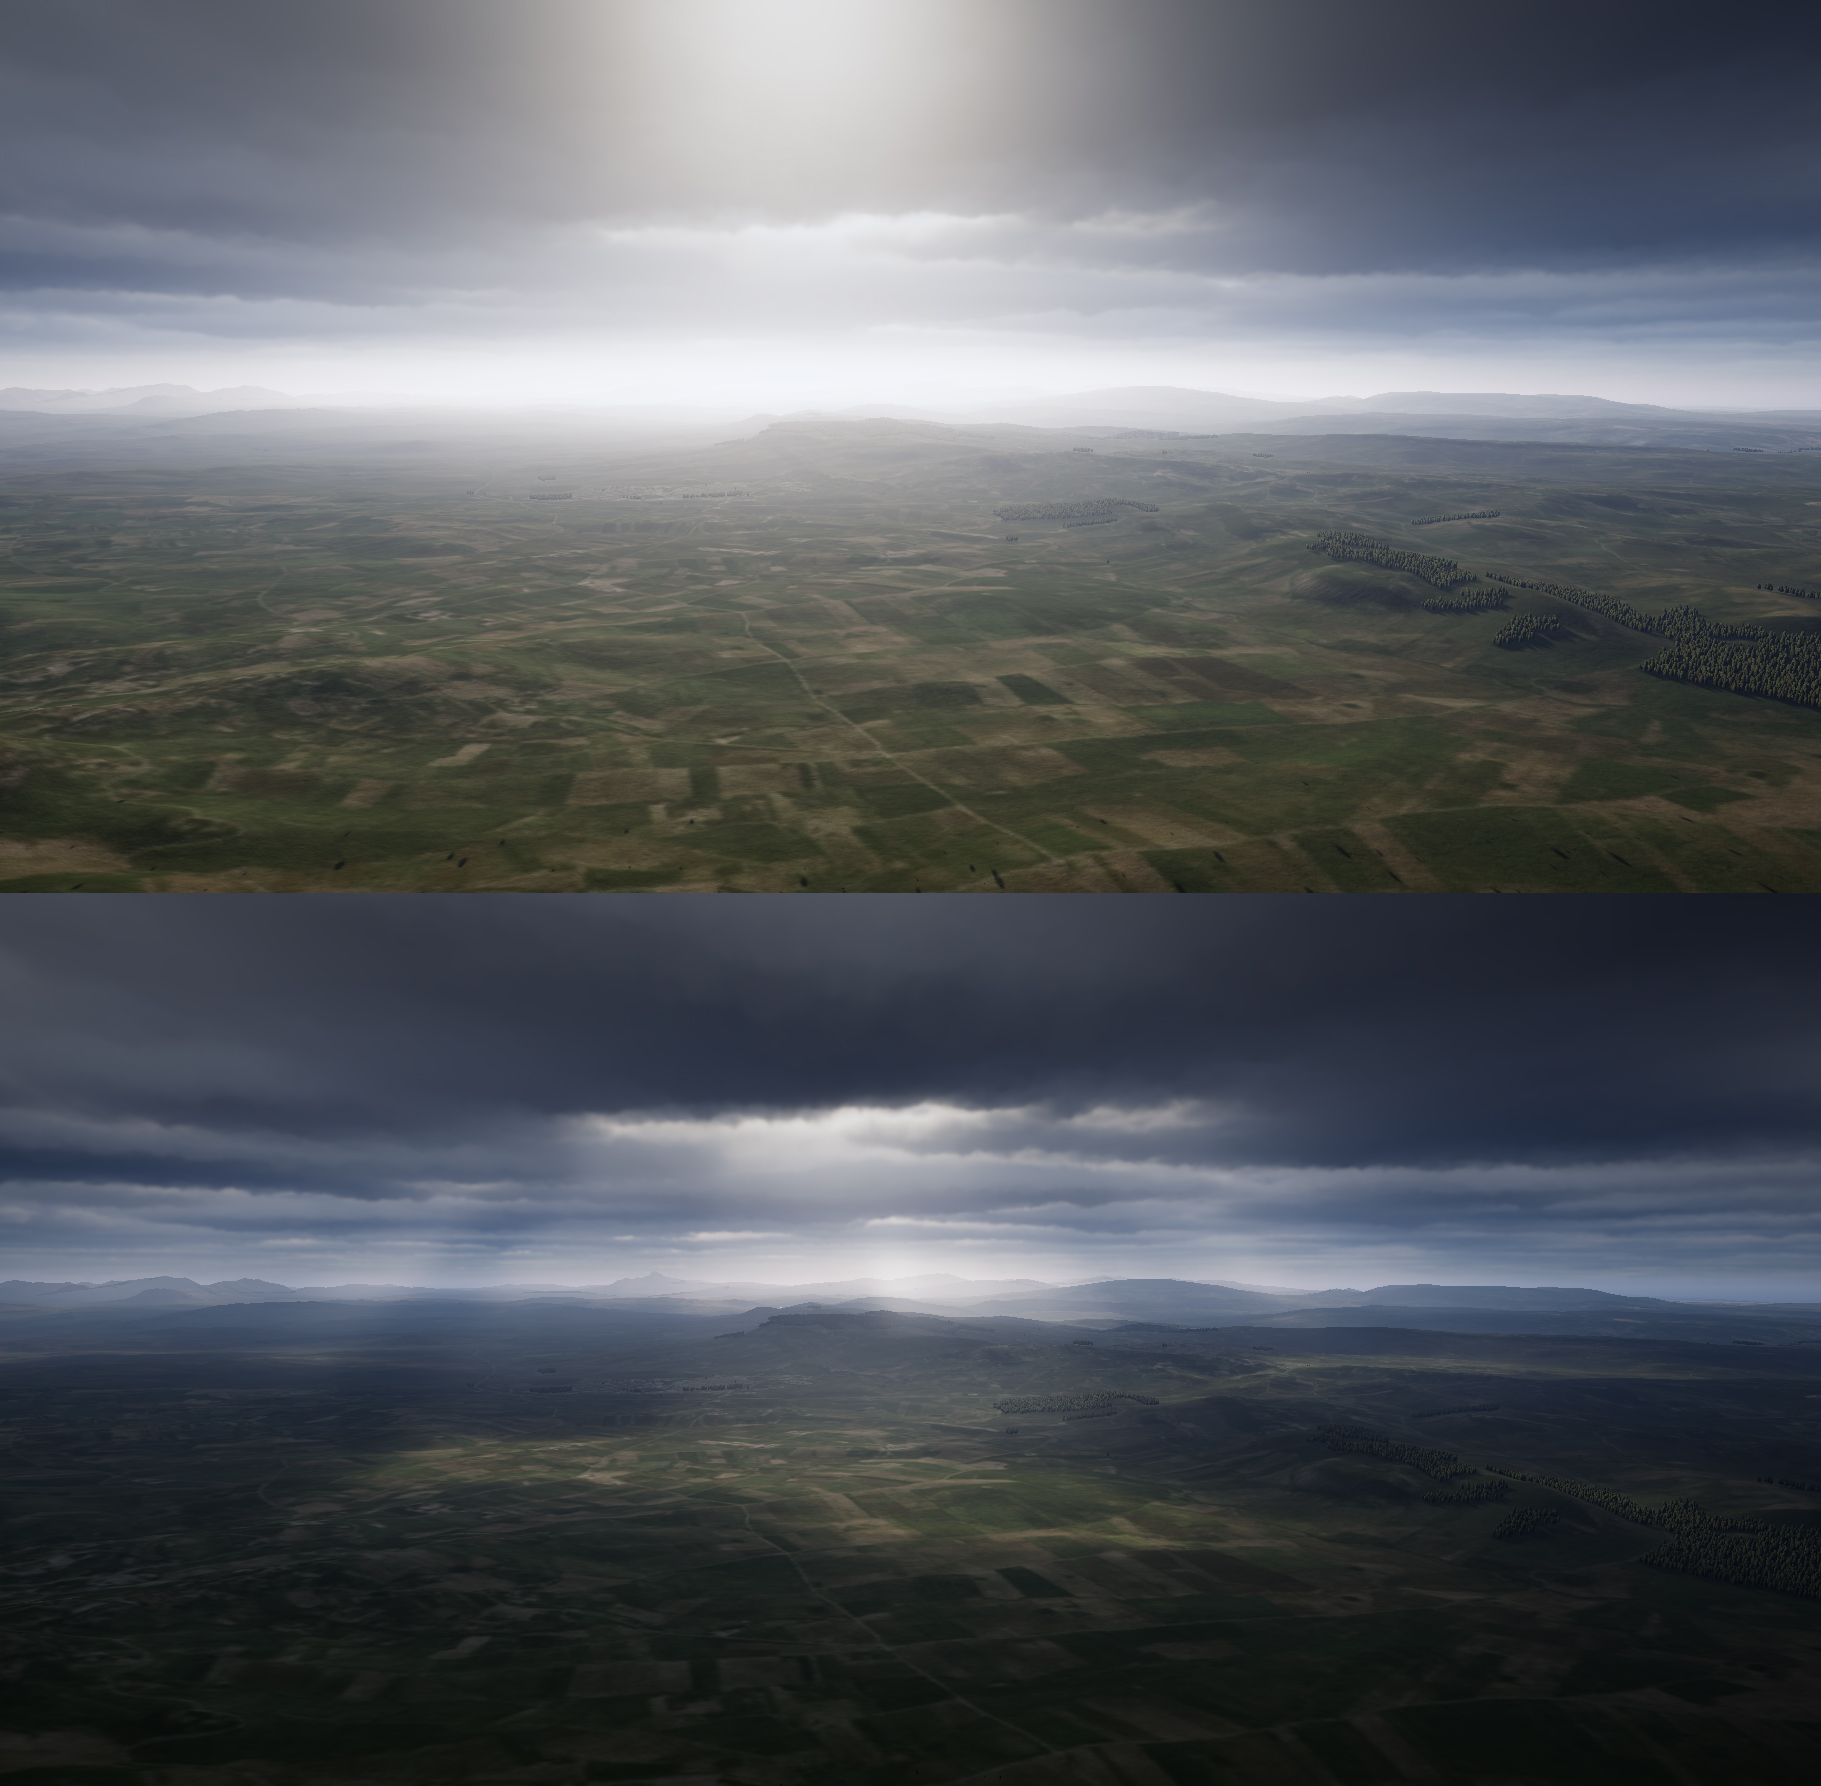
Here’s with no ambient attenuation:

And here’s with the pre-marched ambient occlusion added:

Because the volume resolution is so low, the baked directional shadow ray can actually be calculated in real time. This allows us to freely change the time of day while still having far extending shadows.

Also, the baked shadow ray can be used to get a (volumetric) cloud shadow perfectly matching the clouds, with a single tex3D lookup:

Wrapping up

That’s the gist of using signed distance fields to accelerate volumetric rendering. Additionally, I’ve got some other tricks going on which speeds up the rendering and stabilizes it for VR, which I’d like to share in another post.

If you made it this far, thanks for reading and I hope you found it interesting!

Approximating water effects using terrain height maps part 1: Reflections

I spent some time trying to improve my water shader recently, and found there were two problems I had yet to solve in a satisfying way. This post covers the first of them.

Something which makes water look “just wrong” is the lack of correct reflections. A cubemap reflection goes a long way, but it cannot hide the fact that certain surfaces are not being reflected, such as the terrain. This can make the world appear to float when viewed from certain angles:

Terrain appears to float due to the lack of reflections

There has been extensive research done on the subject of real-time reflections, with no “catch-all” method available.

Planar Reflections

Early 3D games had no problems rendering “proper” planar reflections due to their simple nature but as the complexity of our scenes grow, so does the cost of these type of reflections. You can’t “just render the scene twice” if rendering the scene once already costs 90% of your resources. Planar reflections also have their problems, mainly that they can be hard to manage, and are limited to reflecting off a single surface with the same surface normal. If you want multiple reflections, you have to do multiple renders.

Planar reflections in Deus Ex (2000)

Screen-Space Reflections

The shift towards deferred rendering, which itself isn’t very compatible with planar reflections, has given popularity to a method of rendering reflections called screen-space reflections (often abbreviated as SSR). This method uses the pixel normals and depth to calculate “screen-space” reflections, by ray-marching the screen buffer after the scene has rendered. It is very compatible with deferred rendering (since the g-buffer provides the necessary data) and although it requires a lot of samples/filtering/tweaking to look good and still counts as a high-end effect, at least it doesn’t require rendering the scene twice. It also handles reflections in any direction and is independent of scene complexity, much like screen-space ambient occlusion.

Screen-space reflections can look very nice in still shots with an optimal view of the scene (Stachowiak & Uludag, 2015, Stochastic Screen-Space Reflections)

The bad with SSR (and this is a big bad, if you ask me) is that because it is screen-space, most rays will fail to hit what they “should” hit, and many will not hit anything at all. Surfaces which cannot be seen (off-screen, behind other objects etc.) cannot be reflected and so you end up with a kinda-sometimes-works-reflection solution. It is also prohibitively expensive for VR, and the inconsistent reflections end up very distracting.

Hey, where did my reflections go!? The Witcher 3 (2015)

Something Else

Looking at both of these solutions, none of them seem very appealing, so maybe we can come up with something new. Let’s look at our requirements and what we can sacrifice:

Requirements

  • Realtime
  • Can’t render the scene again
  • Must be able to reflect objects off-screen/not limited to screen-space
  • Must be fast
  • Must be reasonably accurate
  • Preferably done directly in water shader

Sacrifices

  • Reflecting the terrain is good enough
  • The reflection color can be very simple
  • Water is often wavy = reflection can be, too

Alright, so that seems like quite the task. Turns out though, it’s actually rather simple.

Ray-marching the terrain height map

Screen-space reflections use a technique called ray-marching. This is a form of ray tracing where you take discrete samples of some data as you travel along a ray to determine if you hit something. The reason SSR reflections disappear is because of lack of data, not because there is something wrong with ray-marching. What we need is some form of data which is available anywhere, at any time. If we upload our terrain height map as a shader parameter, we have exactly this. We can now do ray-marching, and for every step we check the current ray position against the terrain height value. If it is lower, we know we intersected the terrain. For our final intersection point it’s a good idea to pick a point between the last ray march position and the one that was below the terrain. This will give us a slightly more accurate reprensentation of the terrain. This can be improved upon further by stepping back and forth a bit to find the “true” intersection point, however for reflections I’ve found that just interpolating between the two works fine.

Ray-marching the terrain height map

Results

Now let’s take a look at that shot from the beginning with and without ray-marched height map reflections:

Without reflections

With reflections

Much better! It is now obvious where the terrain sits in relation to the ocean.

A really cool side effect of this method is that it works independently of position and orientation of the water plane:

Water plane at high altitude. Hidden mountain lake, perhaps?

Slanted water plane. I would probably pack my bags if I lived here.

I haven’t done rendering timing, but the effect works with just 16 ray-march steps and so has no noticeable performance impact on my machine. I imagine you could do down-sampled rendering to make it blazingly fast even with a high sample count.

What should the reflection color be?

I’m returning a dark terrain-ish color multiplied with the ambient sky value. If you can evaluate your terrain shader anywhere, you can return that instead:

Reflecting the terrain shader.

The reason I don’t is just to save some performance and texture lookups.

What about ray-march step count/length?

Depends on your scene. I’m doing 16 steps with variable length based on the viewing angle:

float stepSize = lerp(750, 300, max(dot(-viewDir, worldNormal), 0));

I imagine this could be improved a lot. Since it works the same way as screen-space reflections, I would look to such implementations for info on this.

What about glossy reflections?

Tricky. Probably best to render the reflection to a separate buffer and do post-processing on it. Same problem applies when rendering planar reflections so I imagine there are resources available online on this.

Code pls

The code will depend on your setup but here it is in basic form:

const static int stepCount 	= 16;		// Maximum number of ray-march steps

float3 ro = worldPos;				// Ray origin
float3 rd = reflect(viewDir, worldNormal);	// Ray direction

float4 hit = 0;
float3 hitPos = worldPos;

float stepSize = lerp(750, 300, max(dot(-viewDir, worldNormal), 0));
float3 prev = ro;
UNITY_LOOP
for (int u = 0; u < stepCount; u++)
{
	// Current ray position
	float3 t = ro + rd * (u+1) * stepSize;

	UNITY_BRANCH
	if (OutsideTerrainBounds(t))
		break;

	float height = GetTerrainHeight(t);

	UNITY_BRANCH
	if (height > t.y)
	{
		// Interpolate between current and last position
		hitPos = (t * prev) * 0.5;
		hit.rgb = GetReflectionColor(hitPos);
		hit.a = 1;
		break;
	}

	prev = t;
}

// Mix with cubemap reflection
float3 reflection = lerp(cubeMapRefl, hit.rgb, hit.a);


GetTerrainHeight is a function which returns the terrain height at that world position (this is where the terrain height map comes in).

GetReflectionColor just returns unity_AmbientSky * 0.35 in my case.

What about reflecting objects other than terrain?

Tricky, but not impossible. I’ve done some testing using Signed Distance Fields, and I think the results are promising. My test scene uses an array of parameters which describe proxy SDF cubes. I already had this set up since I use it for generating terrain shadows and AO on the GPU, so it was just a matter of firing an additional SDF ray.

Reflecting an aircraft carrier using SDF proxies (3 cubes).

Reflecting a bridge using SDF proxies (visualized in the bottom image).

This runs at real-time but is too slow for a practical application (much less a VR game). I imagine you could get pretty decent performance if you use precomputed SDF textures instead. I will probably get around to trying this eventually.

In the next post, I’ll show you how we can use the terrain height map to improve our water shader even further by generating shorelines and a projected ocean floor. Stay tuned!

Growing chambers & demo status

Wanting to share some longer thoughts on the development of my game I figured Twitter wouldn’t do any longer, and so I made this blog. It will consist mostly of breakdowns of the technical aspects of the game but probably some other stuff as well.

The game itself is in a pretty good state right now. I’ve held out on recording another video as I’ve been working mostly on necessary stuff that I’ve put off for long, like core gameplay systems and editor tools. Right now I’m in the middle of a performance pass after having added some new graphical features (which I will be making a post about) and I’m happy with how the game looks and feels. I recently added enemy fighter AI which turned out to be really fun to go up against. I’ll be making a post and video about that as well after I’ve completed some work that remains to be done.

I had set a goal of releasing a demo at the end of august, but I’ll have to delay that by about a month to ensure that it is a smooth enough gameplay experience. The demo will consist of a short mission with both air-to-ground and air-to-air combat, and I will be using it to gather some input on how the game feels and runs. I don’t want to make any promises that it will be released in September but I’m confident it will be out around that time, so please look forward to it.

/Felix